/
/
Email How To’s

We Like to Support Our Clients

Below is a list of helpful resources from email setup, to MailChimp newsletters, and other helpful IT stuff.

Step 1

Firstly, open Outlook and choose to add an Exchange Email Account. When you do this you will presented with a screen similar to the one shown below. Simply enter your name, email address and password and click next.

Step 2

Note in the Mac Outlook this looks a little different.

In the email field, enter your email address.

Step 3

After you click next, Outlook with talk to the Exchange server and retrieve it’s configuration settings. Note: you may be asked to accept a security certificate or will be asked to trust the email server, This is safe to do.


Step 4

Outlook may request that you restart. If so, restart Outlook and you may be prompted to add your password again. Do this and tick the “remember password” box.

Step 1

In the top left corner from the drop down menu select “Mail” then click “Add account”

Step 2

Select Exchange from the list, then contiune.

Step 3

Enter your name, email and password before continuing, server details should be automatically configured.


You can set up POP or IMAP access to your email on an Apple iPhone, iPad, or iPod Touch.

If you have a different phone, see Mobile Phone Features.

How do I set up POP or IMAP email on an iPhone?


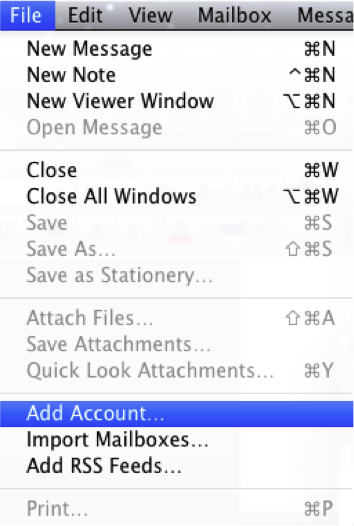
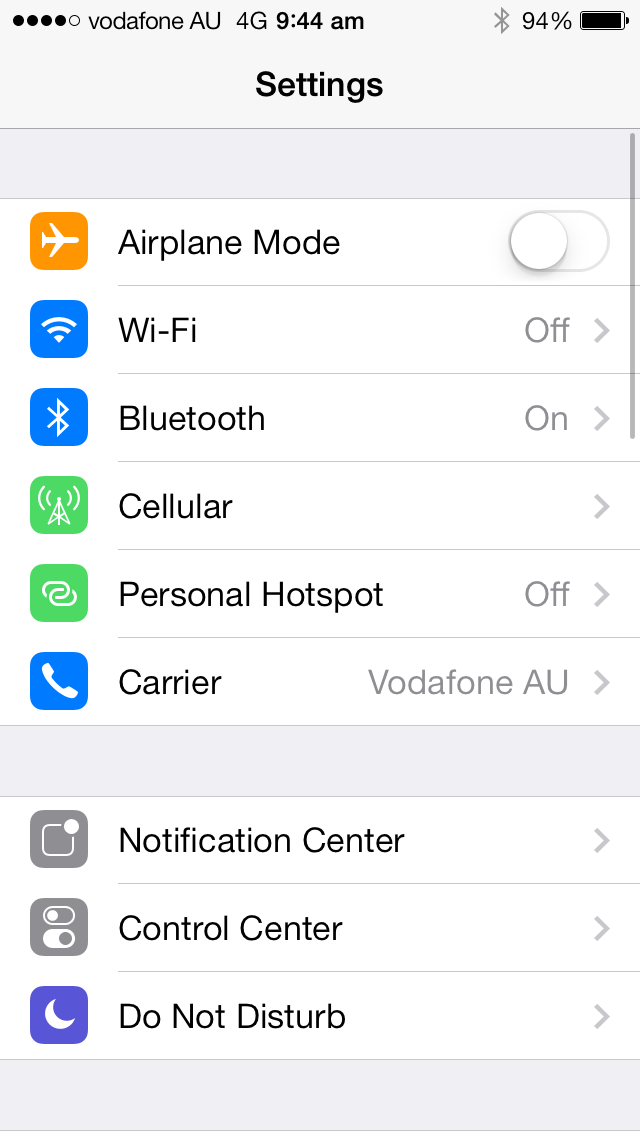
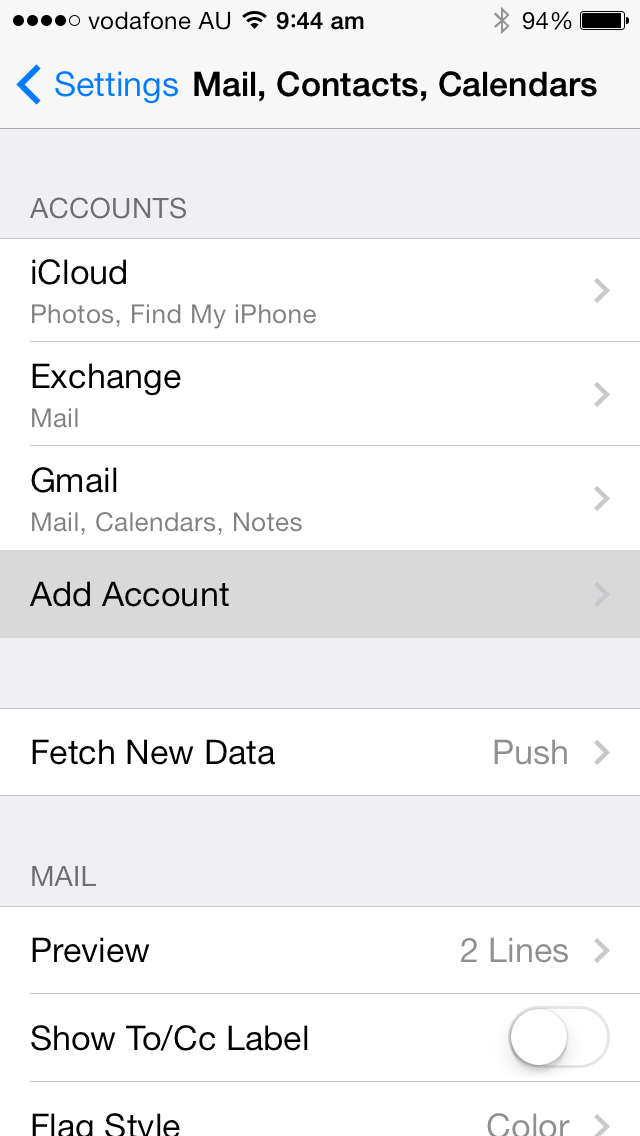
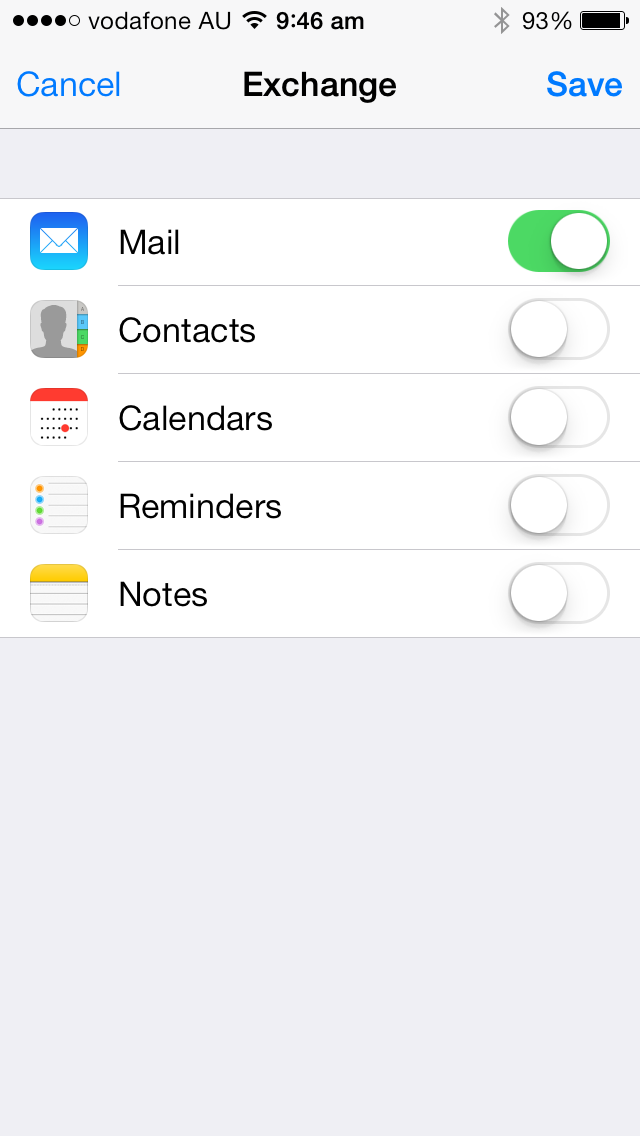
  1. Tap Settings > Mail, Contacts, Calendars > Add Account.
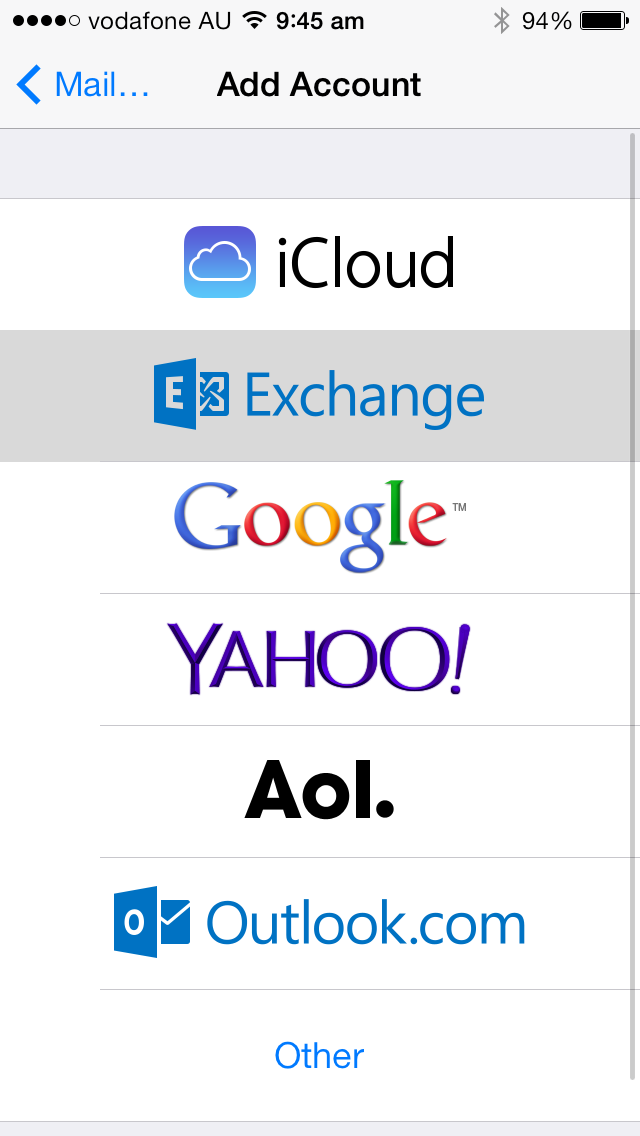
  2. Tap Other.
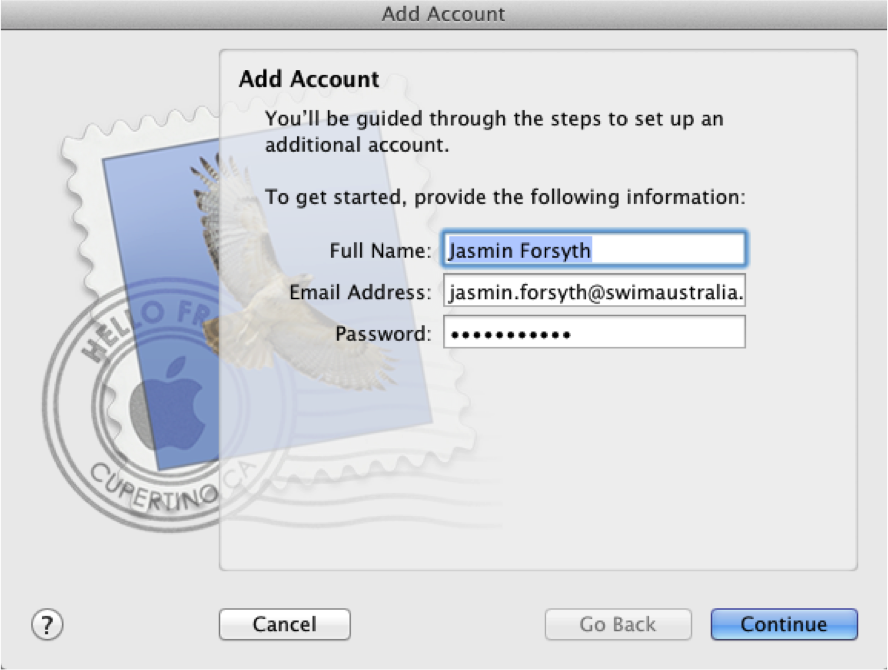
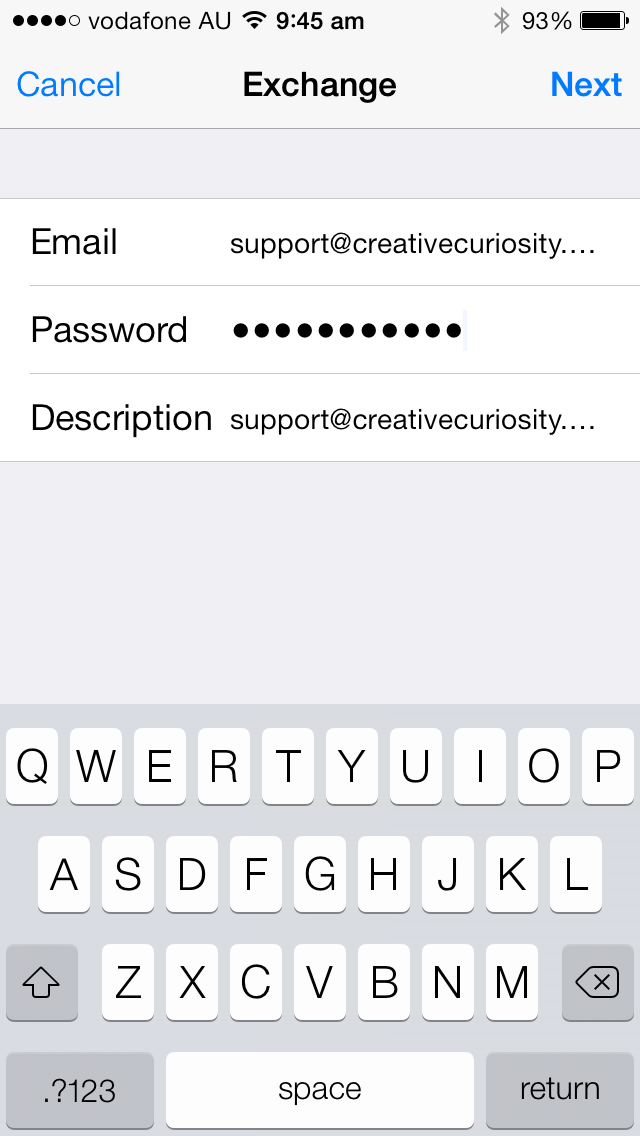
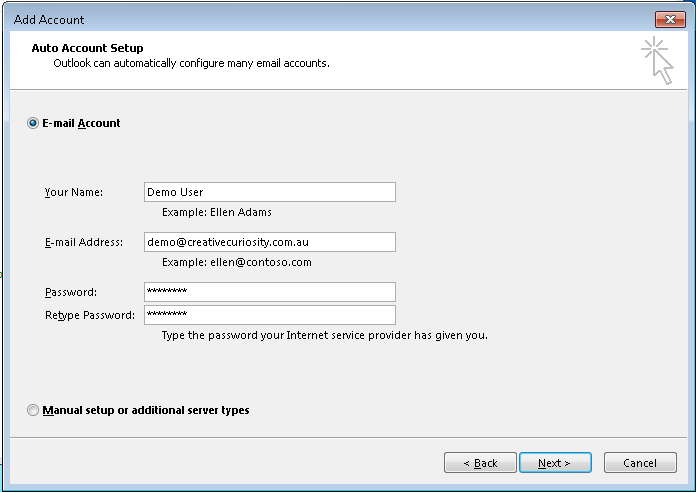
  3. In the Name box, enter your full name.
  4. In the Address box, enter your full e-mail address (for example, tony@contoso.com).
  5. In the Password box, enter your password, and then tap Save.
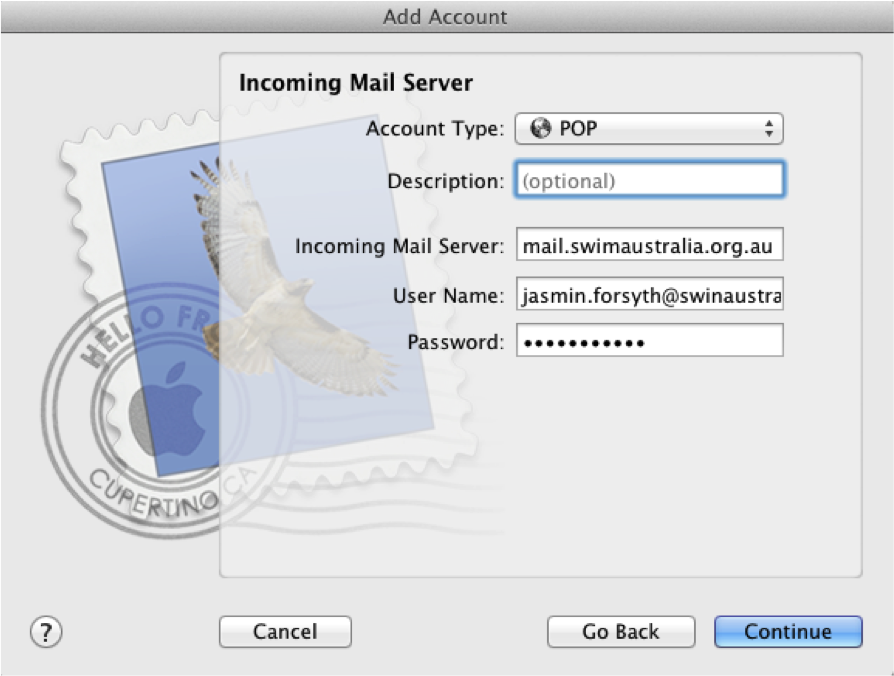
  6. Tap either IMAP or POP. We recommend IMAP because it supports more features.
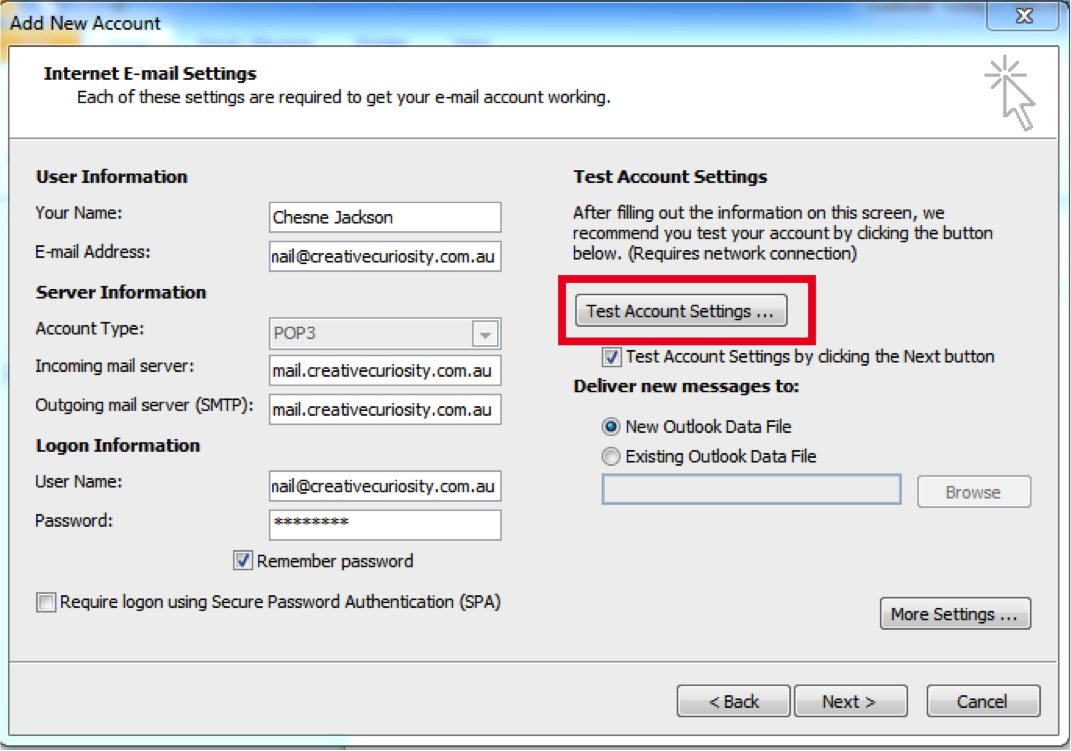
  7. Under Incoming Mail Server, in the Host Name box, enter your incoming server name. For information about how to find your incoming (POP or IMAP) server name, see the “What else do I need to know?” section below.
  8. In the User Name box, enter your full e-mail address (for example, tony@contoso.com). In thePassword box, enter your password.
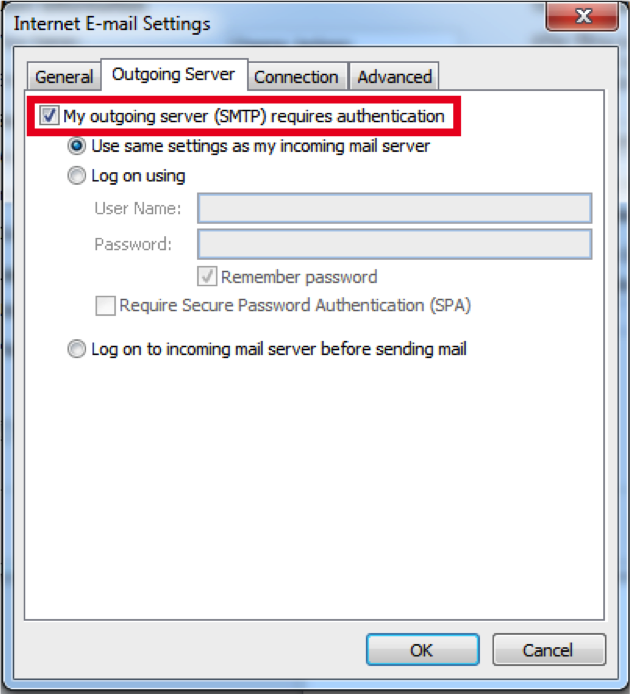
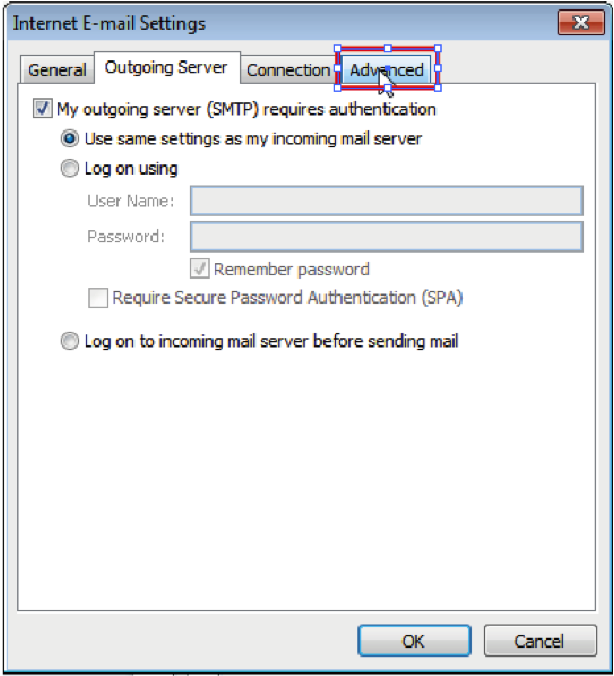
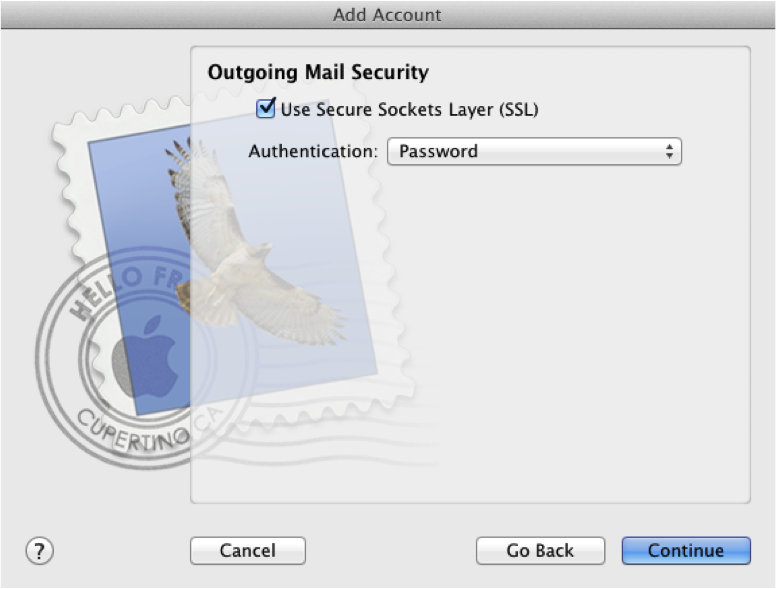
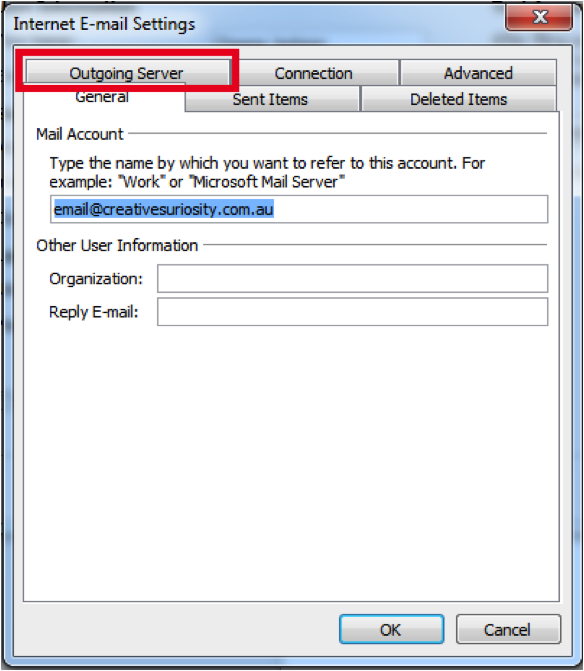
  9. Under Outgoing Mail Server, in the Host Name box, enter your outgoing server name. For information about how to find your outgoing (SMTP) server name, see the “What else do I need to know?” section below.
  10. In the User Name box, enter your full e-mail address (for example, tony@contoso.com). InPassword, enter your password.
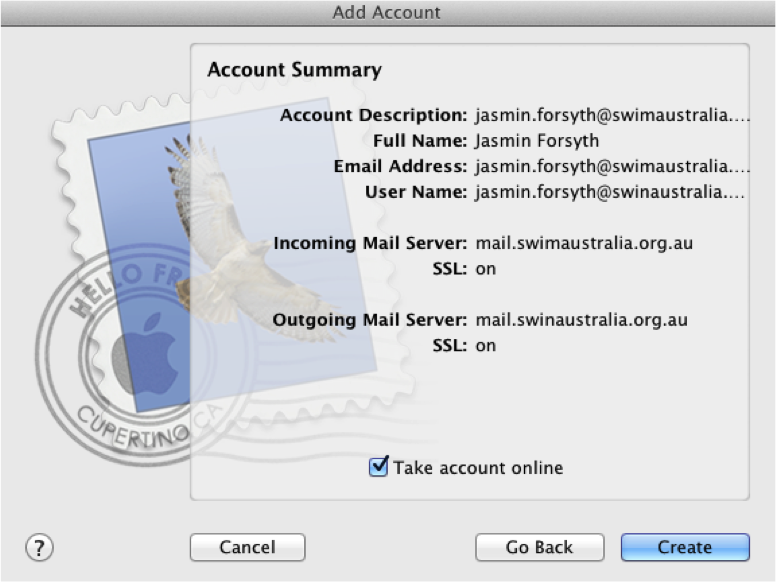
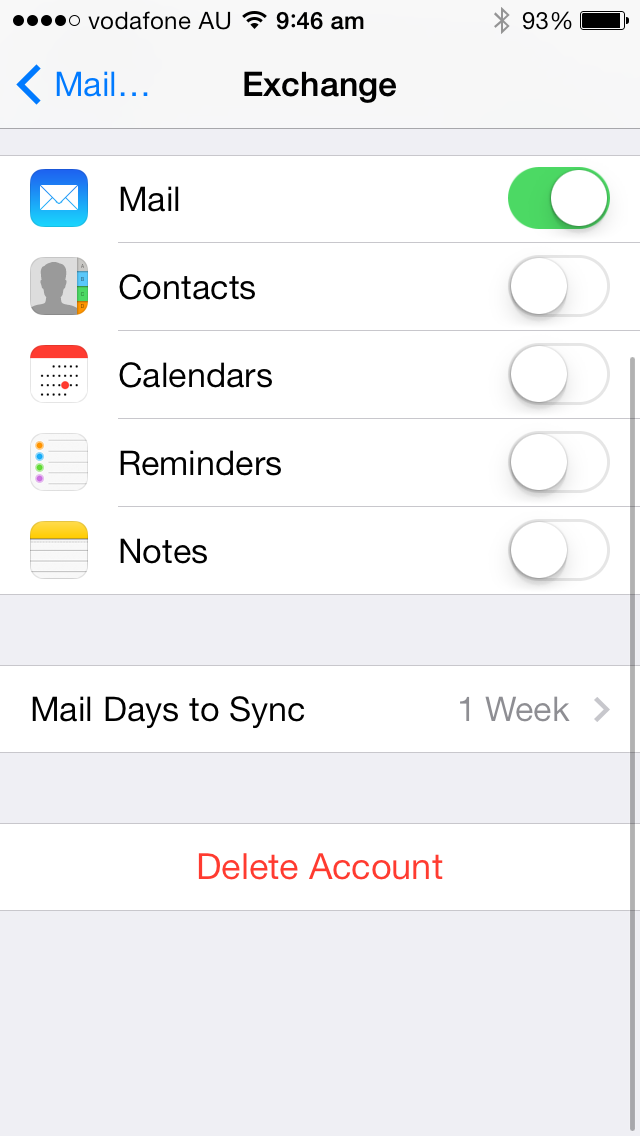
  11. Tap Save.

What else do I need to know?

 
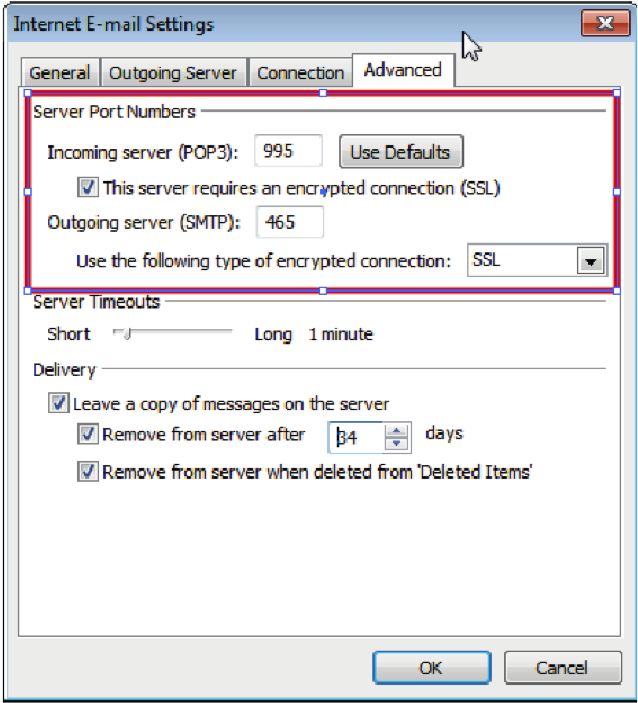
  • Before you set up a POP3 or IMAP4 e-mail program, you need to look up your own POP3, IMAP4, and SMTP server settings.

To find your server settings, sign in to your e-mail account using Outlook Web App. After you sign in, clickOptions > See All Options > Account > My Account > Settings for POP, IMAP, and SMTP access. The POP3, IMAP4, and SMTP server name and other settings you may need to enter are listed on theProtocol Settings page under POP setting or IMAP setting, and SMTP setting.

Note If you see Not available next to POP settingIMAP setting, and SMTP setting, your account may not be set up to use POP or IMAP e-mail programs. For more information, contact the person who manages your e-mail account.

  • If your e-mail account is the type that requires registration, you must register it the first time you sign in to Outlook Web App. Connecting to your e-mail account through a mobile phone will fail if you haven’t registered your account through Outlook Web App. After you sign in to your account, sign out. Then try to connect using your mobile phone. For more information about how to sign in to your account using Outlook Web App, see How to Sign In to Your E-Mail Using a Web Browser. If you have trouble signing in, see FAQs: Sign-in and Password Issues or contact the person who manages your e-mail account.

Note: A POP account will download your mail to your computer.

Step 1

Click Add Account:

Step 2

Select Manually configure server settings or additional server types and click Next

Step 3

Select Internet E-mail and click Next

Step 4

Complete fields as shown (using your own details) and click More Settings

Step 5

Click the Outgoing Server tab

Step 6

Select My outgoing server (SMTP) requires authentication and then click OK

Step 7

Click the Advanced tab

Step 8

Change settings to reflect the image below and click OK

Step 9

Click Test Account Settings …

Step 10

Click Close when tests are complete

NOTE:If this box appears, your user name or password incorrectly typed

Step 11

Click Finish

Note: A POP account will download your mail to your computer.

Step 1

Open Mail and in the top menu under File click on Add Account:

Note: Add Account, is under Mail not file in recent editions of OSX

Step 2

Enter Full Name, Email Address and Password and click Continue:

Step 3

Leave Account Type as POP. Enter Incoming Mail Server, Username and Password and click Continue:

Step 4

If this message appears, click Connect:

Step 5

Click the Use Secure Sockets Layer (SSL) check box, leave the Authentication set as Password and then click Continue:

Step 6

Enter the Outgoing Mail Server address and select the Use only this server check box. Select the Use Authentication check box and enter the User Name and Password. Then select Continue:

Step 7

Click the Use Secure Sockets Layer (SSL) check box, leave the Authentication set as Password and then click Continue:

Step 8

Select the Take account online check box and select Create:

Note: IMAP works by keeping mail on the server

Step 1

Click Add Account:

Step 2

Select Manually configure server settings or additional server types and click Next

Step 3

Select Internet E-mail and click Next

Step 4

Complete fields as shown (using your own details) and clickMore Settings

Step 5

Click the Outgoing Server tab

Step 6

Select My outgoing server (SMTP) requires authentication and then click OK

Step 7

To test your account is setup correctly, click Test Account Settings …

Step 8

Click Close when tests are complete

Step 9

Click Finish

Step 10

Click Finish

Note: A POP account will download your mail to your computer.

Step 1

Go into your iphone settings and select the “Mail, Conteacts, Calendars option.

Step 2

Here you will see any email accounts that are already setup on your phone. select “Add Account”

Step 3

Select the “Exchange” option.

Step 4

Fill in the email address and your password. The description can just be the email address as well.

Step 5

The IPhone will verify and collect all the necessary information for you.

Step 6

Once verified you can link in with your contacts, calendar etc.

Step 7

If you ever want to sync it with more or delete the account, just go back into the “Mail, Contacts, Calendars” and select your email. You will find all the prompts there.

Have you heard?

Creative Curiosity is now a part of Arvo Agency

This means you can now access our skills in Software Development and IT Support in addition to our WordPress and Graphic Design skills.